Sales Techs Available: 1-877-305-8966
Talk to a Sales Tech
1-877-305-8966
M-F 8:30A-11P, Sat-Sun 8:30A-9P
1964-65 Falcon/Comet Dash Pad Replacement
Is it time to replace that cracked and hard dash on your Falcon or Comet? If so, there is more than one option available. Not all aftermarket dash pads are the same. MAC's Antique Auto Parts manufactures a dash pad that is a perfect fit. MAC's has put considerable effort into manufacturing a dash pad that fits right, and it is made in the USA to boot. Replacing your existing dash pad is not a difficult task, but care must be exercised to ensure that the new dash pad is installed correctly.
- Part : 41-37520-1 - Dash Pad - Red - Falcon Comet
- Part : 41-37518-1 - Dash Pad - Blue - Falcon Comet
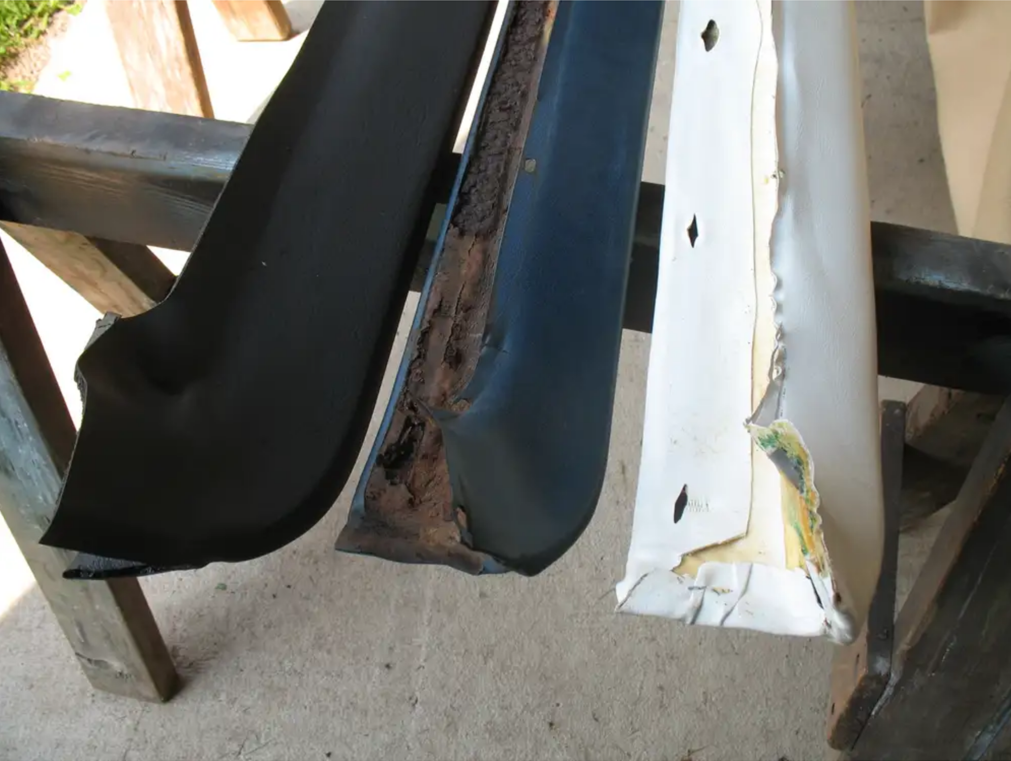
The old dash pad is a cover over the original. The cover hides the original details.
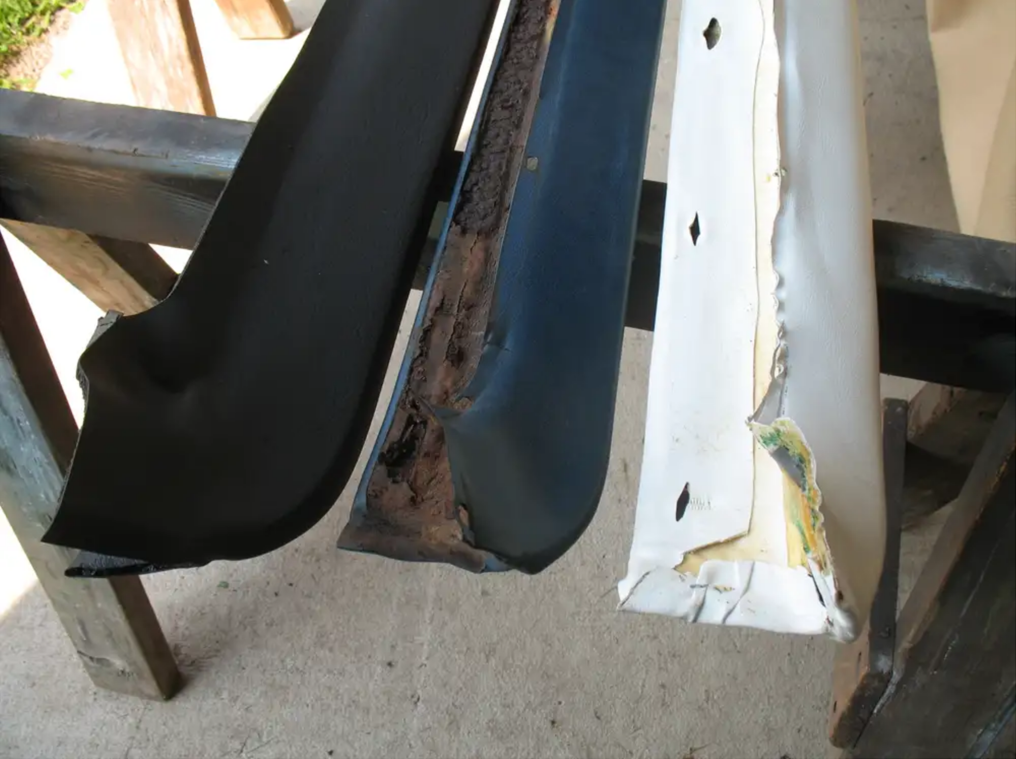
Three dash pads are shown: MAC's reproduction on the left, an original dash in the center, and the recovered original on the right.
Dyeing the Dash Pad
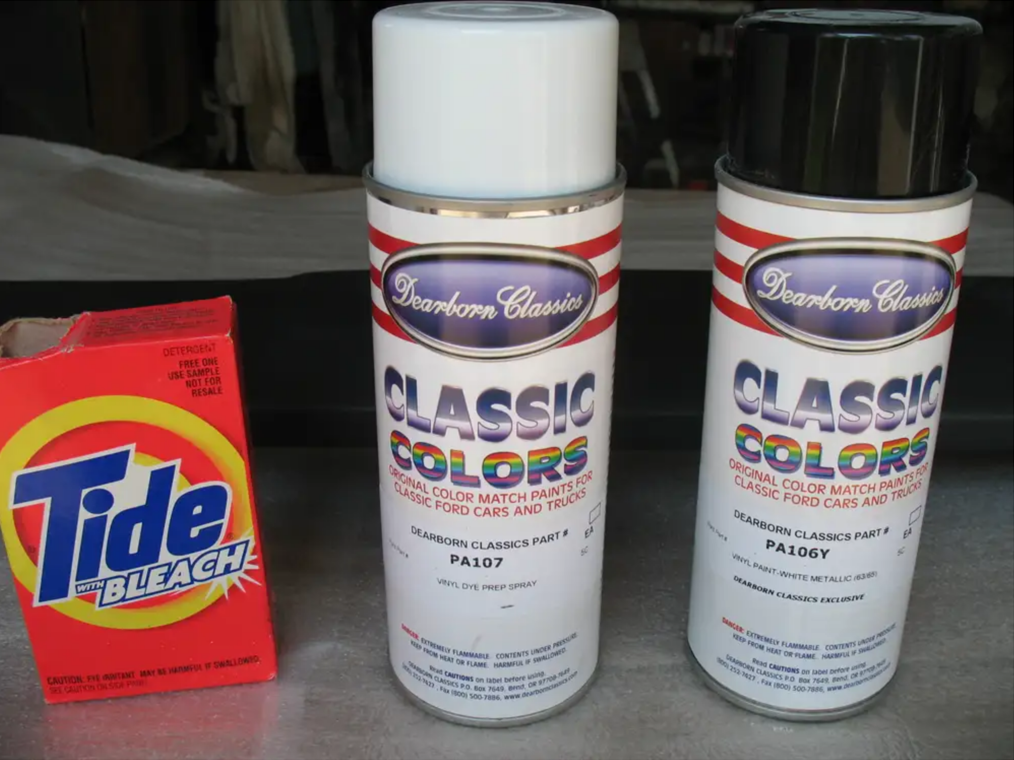
The first step in replacing a dash pad is to dye it to match your interior. Dyeing is a simple task but is a must to achieve the OEM finish and color match. The first step is cleaning the dash pad. MAC's recommends using Tide laundry detergent to clean the dash pad as it is an effective cleaner to remove any residue due to manufacturing and handling. Once the dash pad has dried, a coat of vinyl spray is applied. It is a good idea to do these steps in a well-ventilated area, wear an approved respirator and vinyl gloves. Vinyl spray is a bonding agent that will lock the vinyl dye to the dash pad so it will not take.
- Part : 41-75606-1 - Sem Vinyl Prep (14 Oz Aerosol)
A nice light coat is applied to the entire dash pad and allowed to dry for about 30 minutes. Once the vinyl spray has dried, follow with the color dye to match your interior. Spray nice thin coats and allow drying between coats, 10-15 minutes is enough time between coats. Spray each coat at a 90-degree angle to the previous coat. Apply enough coats to get full coverage, expect about 7-8 coats to be required. Obviously, the final color will affect the number of coats required.
- Part : 41-75656-1 - Interior And Vinyl Paint, Black - 13 Ounce Aerosol
Removal of the Old Pad
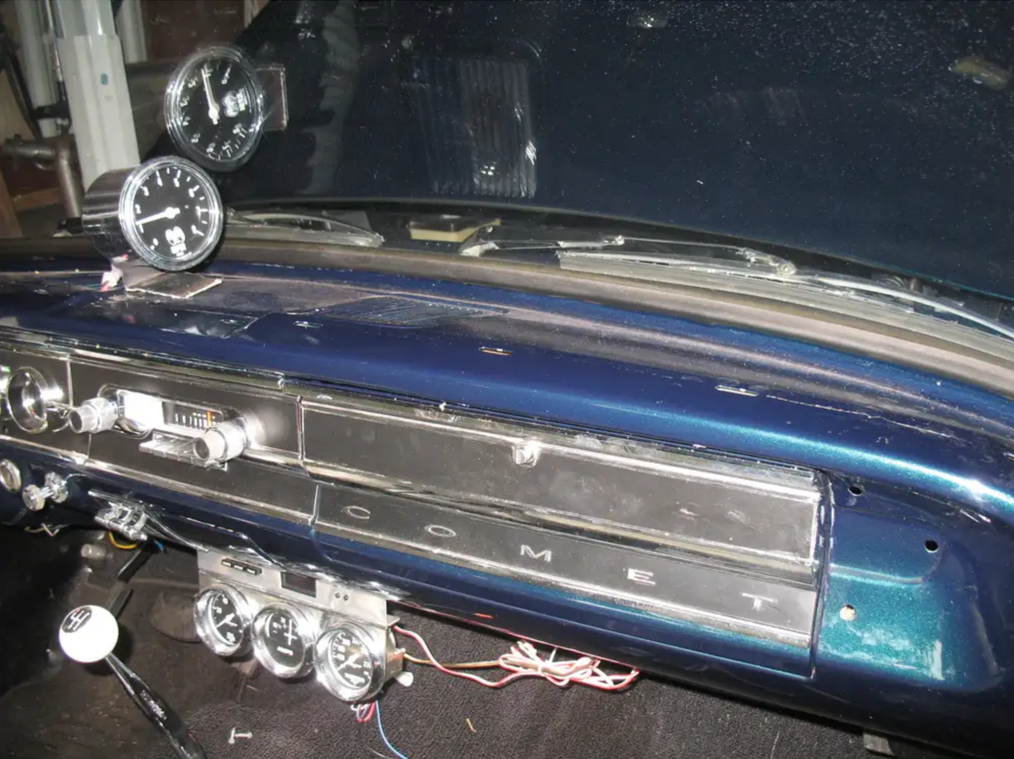
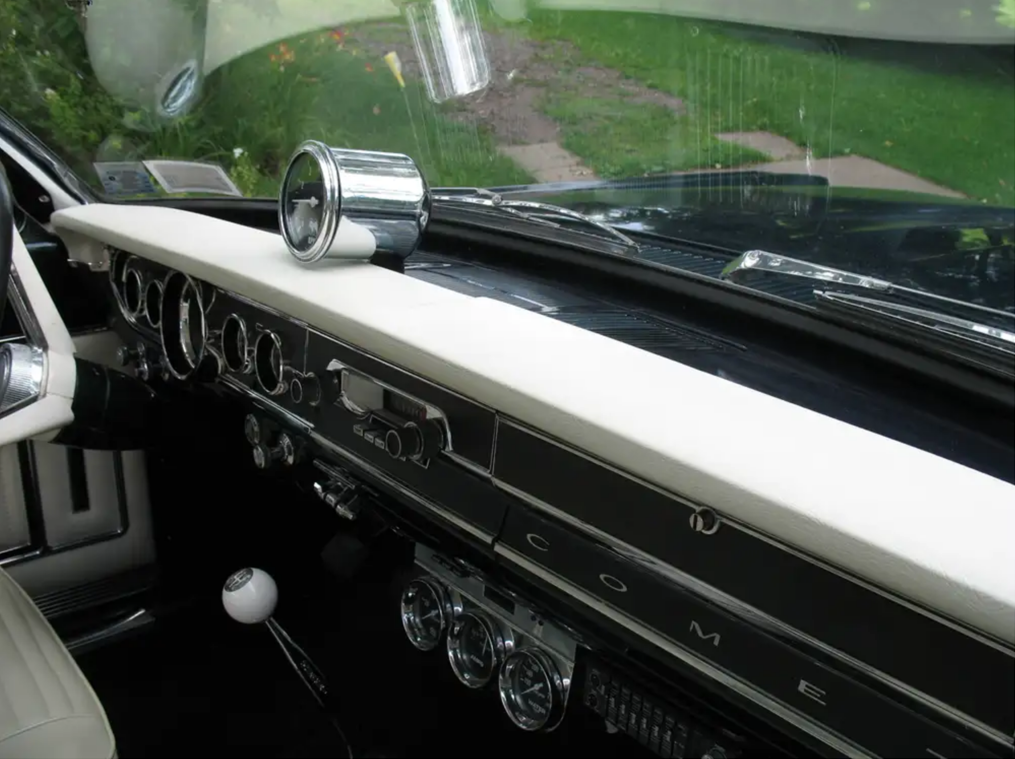
The underside of the dash pad is retained by chrome trim strips. On each side is a small strip retained by two screws. Remove the screws and carefully wiggle the side trim from the center trim. The center trim is retained by spring clips, carefully slide either a trim removal tool or a knife under the trim and gently lift up to pop the trim off. Once the lower trim is removed, the old dash pad can be lifted up to break any glue bond that may exist between the pad and the metal dash. The upper back edge of the dash pad is also retained by metal spring clips that are molded into the dash pad. Again, using a knife or trim tool, carefully separate the dash pad away from the metal dash. Once the old dash pad is removed, use a solvent cleaner to remove any old adhesive that remained on the metal dash.
Clean it with a solvent cleaner, vinyl spray, and dye it.
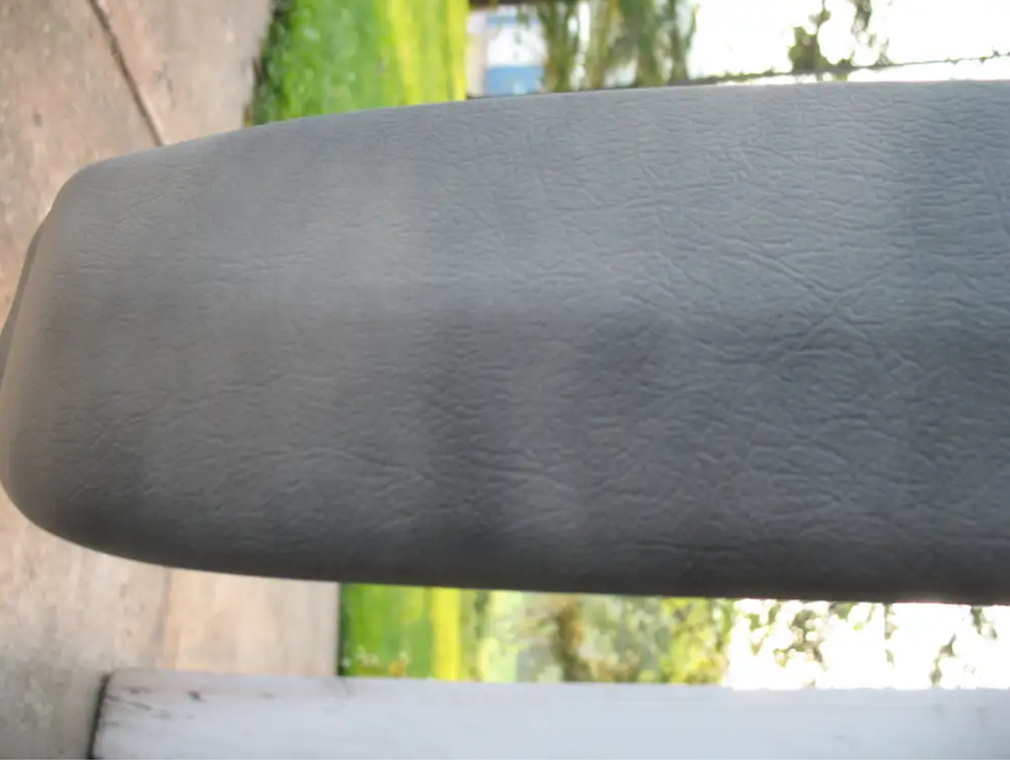
The new dash pad with one coat of dye.
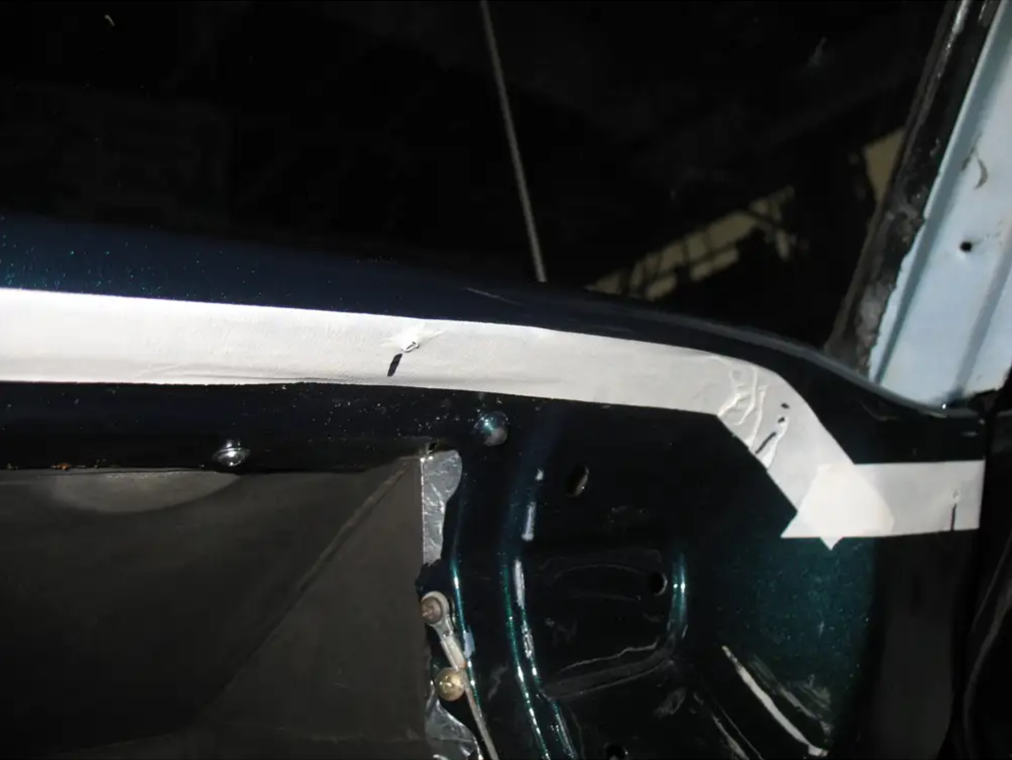
The old dash pad is removed, and the surface cleaned of old glue residue.
Masking tape is applied to the finish while the dash pad is being trimmed to fit.
The underside trim is temporarily put on to act as a guide for trimming off the excess.
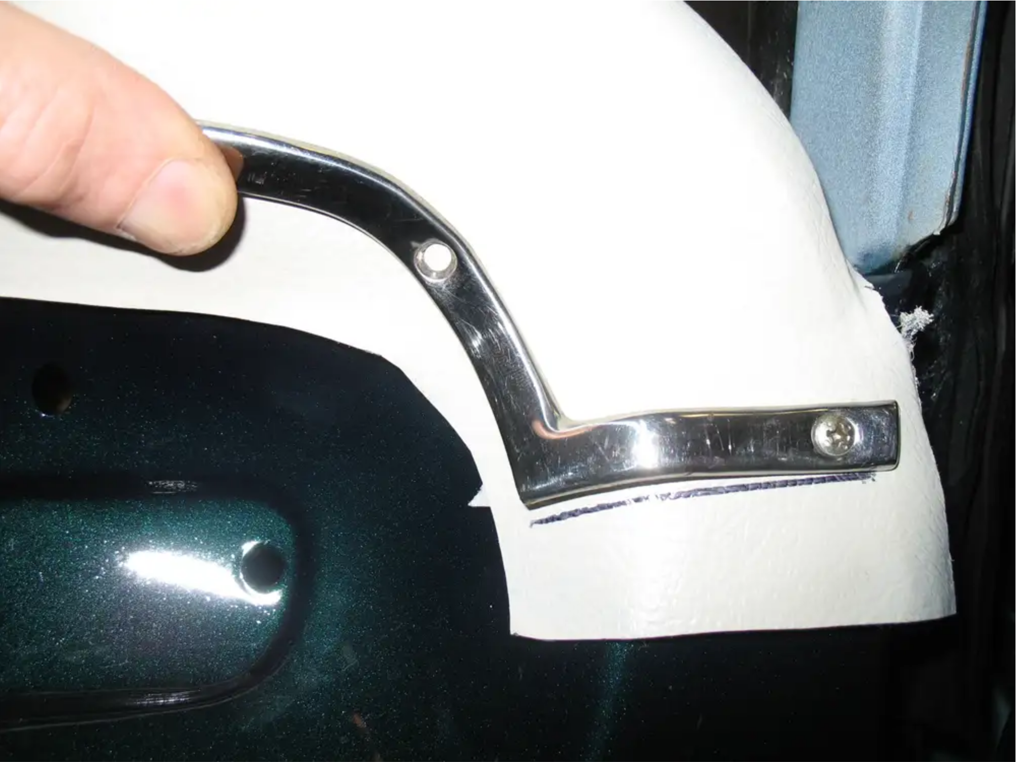
Carefully trim the excess dash pad that extends beyond the underside trim.
Installation of the New Pad
Installation of the new dash pad is a reversal of the process of removal. A little adhesive is required to keep the dash pad from sliding around. There are a couple of options. I prefer to use double-sided carpet tape, but a few dabs of weatherstrip adhesive will also work well. Place the dash pad and install the underside trim. Sit back and admire your handiwork.
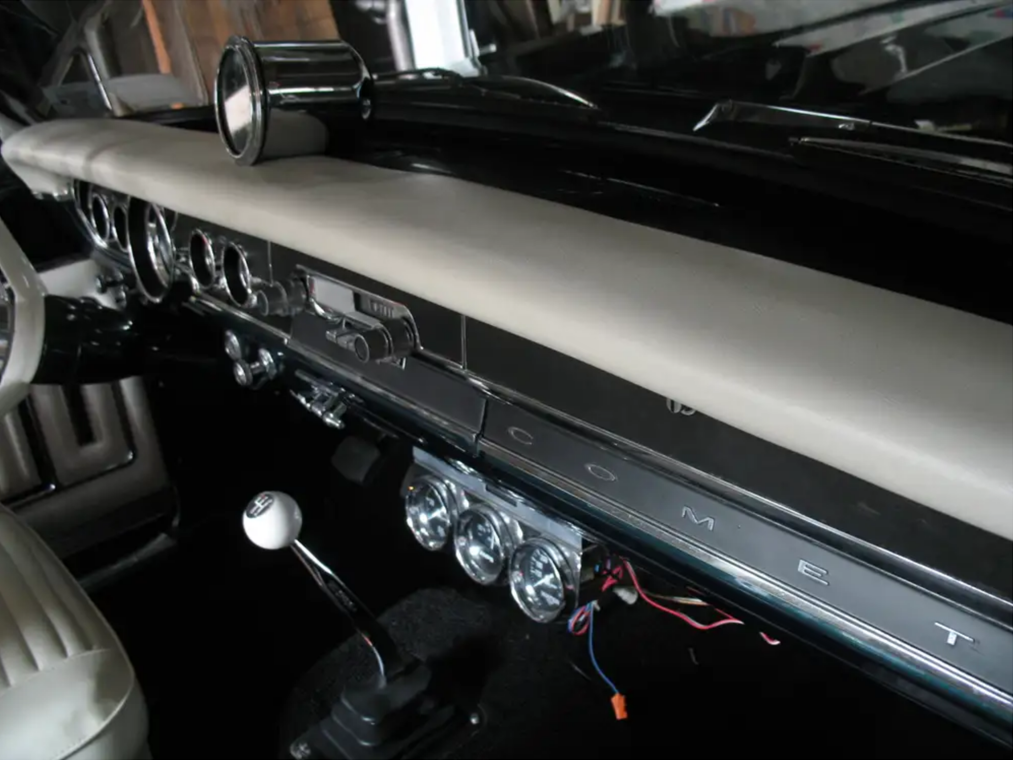
Finished! It can easily be accomplished in a day. Notice the crisp lines in the molding, much better than what was removed.