Eckler's Catalogs Available Now!
1955-1957 Factory A/C Vent Installation
Not so long ago finding original factory AC vents for a Tri-Five was nearly impossible. If you found them you might pay a small fortune for them. Once you got them you had to restore them... not so much fun.
The factory AC vents are a really neat addition to an aftermarket air conditioning conversion. The reproduction AC vents for the 1955, 56 and 57 are all available now. These reproduction vents can be used with a factory air conditioning system or with any aftermarket system to give it a factory look.
This article will show the correct locations in the dash for the reproduction 1957 AC vents. The installation of the 1955-56 vents is similar.
Parts List
- 57-161458-1 1957 Factory Air Conditioning Chrome Dash Outlets
- 57-155232-1 1956 Factory Air Conditioning Chrome Dash Outlets
- 57-138177-1 1955 Factory Air Conditioning Chrome Dash Outlets
Tools Needed
- Scissors
- Razor Knife
- 3-1/2" Hole Saw
- Electric Drill
- 18" Drill Bit
- Phillips Screw Driver
Time Frame
- 2 Hours
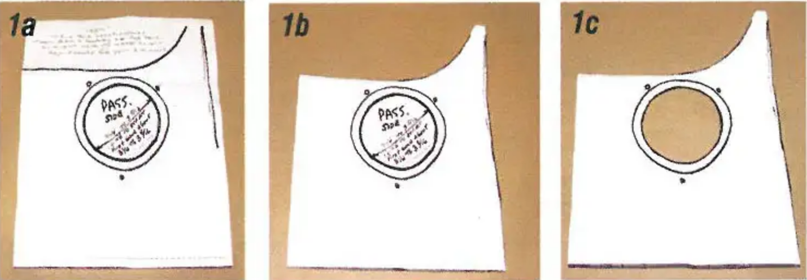
Image 1: The NC vents for the 1957 Chevy PIN 57-161458-1 includes templates to show the location of the left and right vents. The 1955-56 vents include templates as well. With a pair of scissors cut along the outer dotted lines on the template. Using a razor knife cut out the smaller diameter circle in the center of the template.
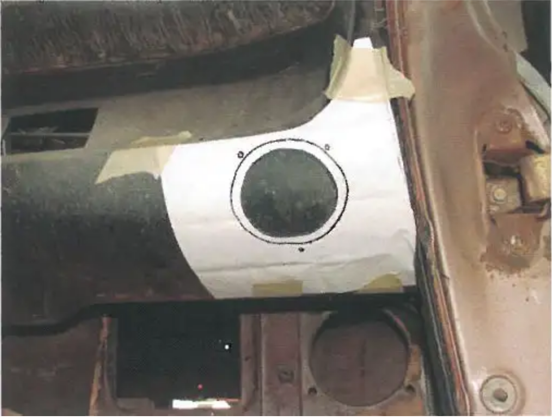
Image 2: The outer edges of the template line up with the bottom of the dash, the edge of the dash where the dash trim is installed and the outer edge of the dash. Use masking tape to hold the template in place.
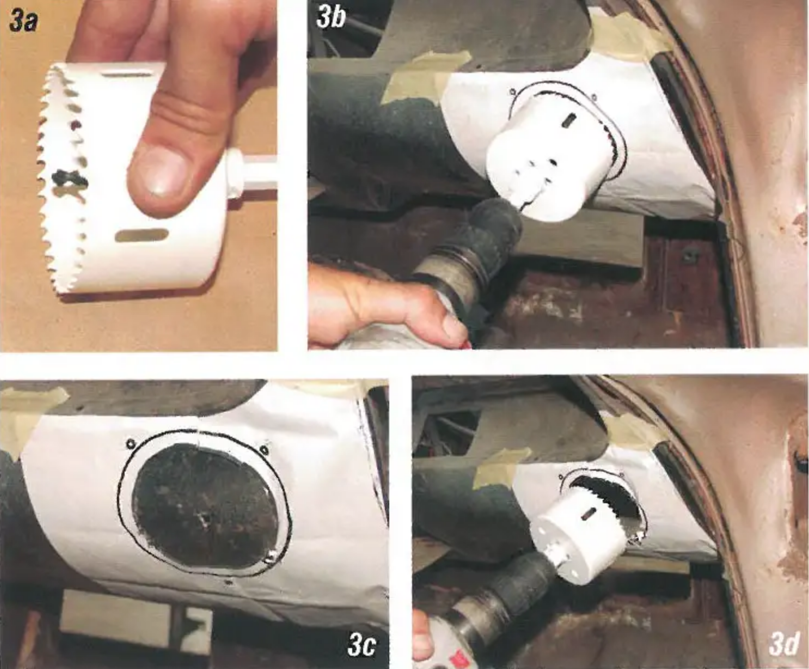
Image 3: A 3-1/2" metal hole saw is used to cut through the dash. At a low drill speed and light pressure, drill through the dash.

Image 4: The left and right AC vents have the same size outlets, but have different size inlets. The driver's side AC vent has a 3" inlet and the passenger side vent has 2-1/2" inlet. This is to balance the air flow to each side.
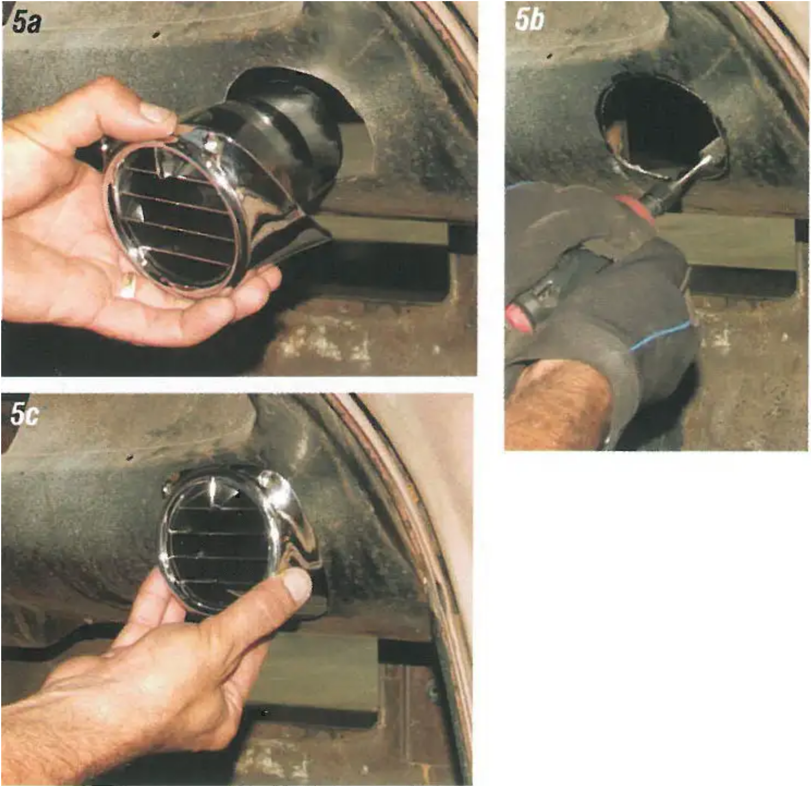
Image 5: Clean up the rough edges of the cut until you get a good fit.
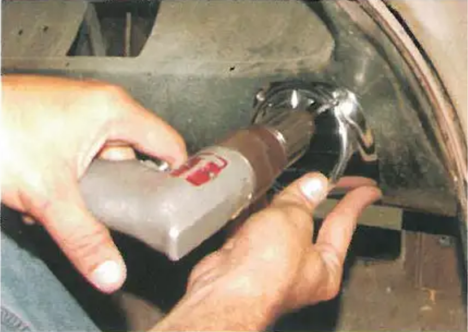
Image 6: The AC vent is held to the dash with three 6 Phillips counter-sunk sheet metal screws (screws not included). Hold the AC vent in place and drill all three 18" holes.
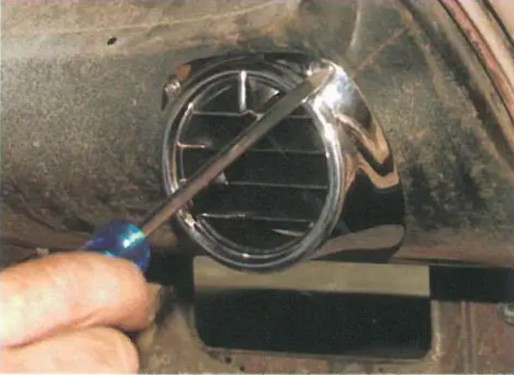
Image 7: Next install the three 6 counter-sunk sheet metal screws and check the fit to the dash board. Repeat for the other side.
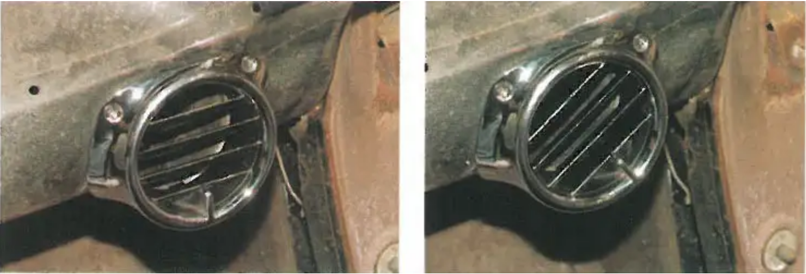
Image 8: The air director on the new AC vent can be turned in any direction. These new chrome vents will really give the air conditioning conversion a clean look.